When owning a firearm, the number one rule you need to adhere to is safety. Do you know that the risk of accidental discharge can be reduced by cleaning a firearm? The correct name for such scary accidents is: negligent discharge. This can be completely avoided when all the proper safety procedures are followed.
Owning a firearm involves a lot more than just enjoying a gun that looks attractive. Gun ownership has a lot to do with safety.
Accidental injuries can occur when you’re not following protocol while cleaning your weapon. Besides the risk of physical injuries, there are also legal implications here. The owner of the firearm is liable for damages or injuries that may result from a negligent discharge.
Maybe you just bought your firearm and you want to make sure it’s ready for the field, or perhaps your gun has already been on a good adventure with you. So, what’s the first step in cleaning a firearm?
In order to not cause rust or damage the weapon, you need to make sure you go through the cleaning process in the correct manner. Today, we share the steps and best practices for keeping your firearm clean.
Steps To Cleaning a Firearm
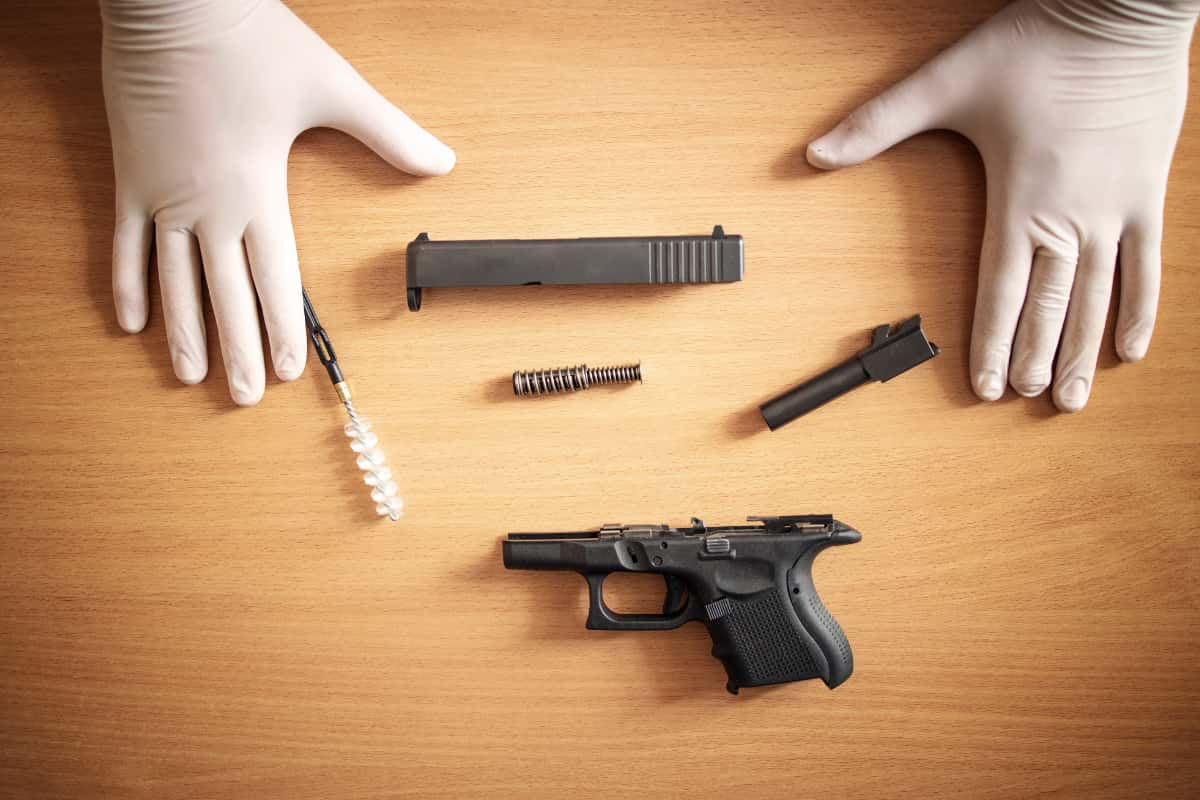
What Is the First Step in Cleaning A Firearm? Preparation is Key
You need a clean area with lots of space to work before you start cleaning your firearms. This area should be well-ventilated and well-lit to avoid any side effects from cleaning chemicals, and mistakes you might make if you’re not able to see well.
Avoid using your dining room table, kitchen, or any other surface where people drink or eat. Gun cleaning materials include carbon fouling, solvents, and oils, which might contaminate the table surface. So, what is the first step in cleaning a firearm? Prepare the space!
Get a Cleaning Kit
The first thing you need to do is buy a cleaning kit. The cleaning kit should include the following tools: patch holder with patches, cotton swabs, ample lighting in the leaning area, rag, oil and bore brush.
Invest In a Good Commercial Solvent
A solvent is a substance that dissolves something else, and when cleaning a firearm, this is very important. Unlike typical cleaning, such as washing the dishes, rubbing your firearm with some soap isn’t going to do the trick here.
Make sure that you use an area with open windows and doors or a garage to keep fresh air flowing into the space. Use the commercial solvent to clean all of the metal parts of the firearm in a thorough manner. Ensure that the barrel is properly cleaned, as well.
Whenever possible, clean the bore up through the breech end. Make sure that the barrel and the bore are just as clean as the rest of the parts that are metal on the weapon, and spend a sufficient amount of time doing this. In order to double-check for cleanliness, run the dry patch through. Before proceeding, let the area dry.
Get an Oily Patch into the Barrel
The aim of this step is to get it well lubricated. Apply a generous amount of oil into the patch and slide it in the barrel of the gun, and make sure that you reach the entire area. A light coating of oil should be applied to any parts of the gun that are made out of metal. Keep in mind that it’s important to unload your gun before starting this step.
Store the Firearm
To help your firearm keep the oil on all parts that need it and dry out properly, store your firearm in a horizontal position. If, for some reason, that’s not possible for you, then store it with the muzzle facing down. This will prevent clogging the back end, and instead any spillage will come out of the barrel.
Pro tip: we definitely recommend finding a specific place for firearms that you’ve just cleaned, especially if you own a gun rack.
Make sure that you don’t store the firearm in a vertical position, where the butt of the firearm will be facing down. Another factor that’s important to remember is to not leave the firearm laying on its side on a counter or table.
Run a Clean Patch
Before you use the gun, run a clean patch back and forth across the barrel, which will help you remove any excess dirt or oil that can be found there. This step ensures that when you fire, everything will go smoothly, and that there aren’t any backlogs or clogs in the barrel.
Make sure that you use oil only for cleaning your firearms, and not for other stuff. By placing it in the same areas as your guns or storing it in the gun safe, you will ensure that no one else is using it for a purpose other than cleaning guns. Plus, that way, you’ll always know where it is.
Try to make a habit out of cleaning your firearms on a regular basis. Always follow the same procedure when starting the first step in cleaning a firearm. When cleaning the same gun, there shouldn’t be any variations or changes in steps. You should be consistent in the way you clean your weapons. Find a rag that you will use for cleaning your firearms, and always keep near you, just like the oil.
Final Thoughts
Now that we’ve covered what is the first step in cleaning a firearm, and other gun cleaning basics, you’re in a better position to keep your weapon clean and safe.
Remember: cleaning your gun is much more than just keeping up appearances. A clean gun is also a gun that’s reliable and safe to use. We hope that you found this article informative and that you now know all of the steps you need to take to properly clean your firearm.