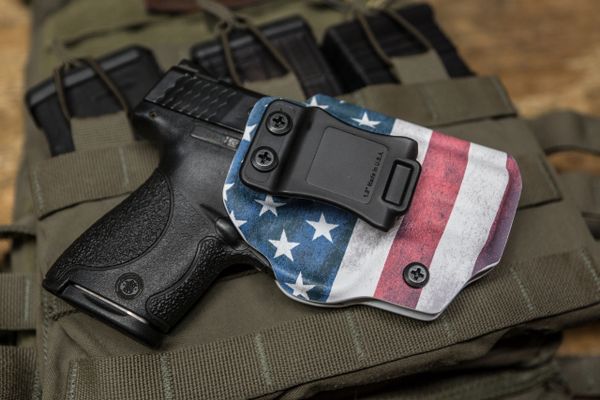
Kydex is among the best materials that you can use for a holster. Kydex is a thermoplastic acrylic polyvinyl chloride type of material. It combines both acrylic and PVC properties making it rigid and durable with an excellent finish. The material is also lightweight with good retention, often used for a wide range of applications such as sheaths for knives, aircraft bulkheads, and, of course, firearm holsters.
In this article, you will learn the process of making your Kydex holster. It will be a step-by-step guide and, by the end of it, you should be able to produce a beautiful, durable, and secure to keep your firearm.
Materials Needed
Before anything else, here are all the materials that you will need to make a Kydex Holster:
- Kydex
- Box cutters
- Measuring tape, ruler, or other measuring devices
- Rivet flaring die and guide
- Rivets
- Sheath foam
- Wood boards
- Wood clamps
- Marker or pencil
- Hairdryer
- Gloves
- Drill (1/4” bit)
- The firearm
How to Make a Kydex Holster
After gathering all the materials, let’s get down to business.
Step 1. Prepare Kydex and the firearm.
Place your pistol on the Kydex sheet that will be closest to your waistband. Position it, leaving no gap of Kydex along with the handle, a 1-inch gap on the nuzzle side and a 2-inch gap above the slide.
Step 2. Score the Kydex
Using the box cutter, score the Kydex and split it by hand.
Step 3. Outline the firearm.
Still keeping the gaps along the side and muzzle, outline your pistol using a pencil or a marker on the reduced sheet of Kydex. If you prefer to have the non-reflective side outside, draw on the shiny side and vice versa.
Step 4. Remove the Kydex around the grip.
To have easy access to the grip once you draw your firearm, make sure to draw out an area on the Kydex around the grip, score it and remove it from the sheet.
Step 5. Cut the Kydex sheet that will be furthest away from the waistband.
Place the pistol on the Kydex and keep the similar dimensions as given in Step 1.
Step 6. Prepare the oven.
Set your oven at around 220 degrees Fahrenheit to form the Kydex.
Step 7. Place the Kydex in the oven.
Place both of the Kydex sheets you have cut into the oven and leave it partially open. Use the sheath foam and lay it on the oven door over to the stovetop to warm it up to create a better and well-defined mold later.
Step 8. Heat the firearm.
Pick up the Kydex sheets inside the oven using your gloves and see if it begins to soften and bend. If they do, heat your weapon with the hairdryer. You can also use a heat gun for the job.
Step 9. Create the mold.
After the Kydex sheets are flexible and the firearm warm, place a piece of the foam on the wood boards and place one Kydex sheet on the foam (the pencil outline facing up). Put the firearm on the Kydex and place the other piece of foam over it and then the wood board.
Clampdown the two boards like that of a sandwich and let it sit for 15 mins. Repeat the whole process with the other half of the Kydex sheet.
Step 10. Sketch your holster design.
Draw the holster design on the Kydex sheets and remove the area not part of your design.
Step 11. Piece the Kydex together.
With the firearm in the middle for proper measurements, piece the two sheets of Kydex together.
Step 12. Draw the holes and install the rivets.
Draw the holes you want your rivets to go and begin drilling through them. Install your rivets in place after.
Step 13. Sand the edges.
Using a file or sandpaper, sand the edges of the Kydex to fix any alignment issues and even out the two sides. Then use fine-grit sandpaper to clean any rough finish on your holster.
Step 14. Add belt loops
Cut strips of Kydex and heat them to shape and bend them however you like. Now, you have done all the steps, and you now have a new beautiful and durable Kydex holster.
Hope you learned something from this guide and use it in making your KYDEX holster today!