Learning how to hold a revolver properly is not difficult, but it would take some getting used to. It’s important to practice your stance and proper grip techniques to build up that muscle memory.
Revolvers, in particular, can seriously damage the user’s fingers or blow them off completely if held incorrectly – you can thank the cylinder gap for that.
In this step-by-step guide, you will learn the correct way to stand when holding a firearm and four proper ways to grip a revolver:
- Thumbs wrapped
- Thumb over hand
- Thumbs tucked
- Thumbs stacked

Is There Really a Right Way to Hold a Revolver?
Yes, there is! There are a few correct ways to hold your revolver so that it does not harm you or anyone around you.
Whether they’re small, colorful, or look cute, firearms still are no joke! In the US alone, every year, more than 27,000 people are injured in accidental shootings, and close to 500 people die.
Learning how to hold your revolver the right way could save you or someone else a trip to the emergency room.
Is There a Difference Between Grasp and Grip?
Most people use the words “grasp” and “grip” interchangeably when they’re talking about guns. To grasp something means to hold it firmly. Now, “grip” refers to the act of firmly holding the gun, but as a noun, it also refers to the part of the gun that you hold on to.
Confusing? Take a look at this simple labeled diagram showing the parts of a revolver.

Shooting Stance – The First Step
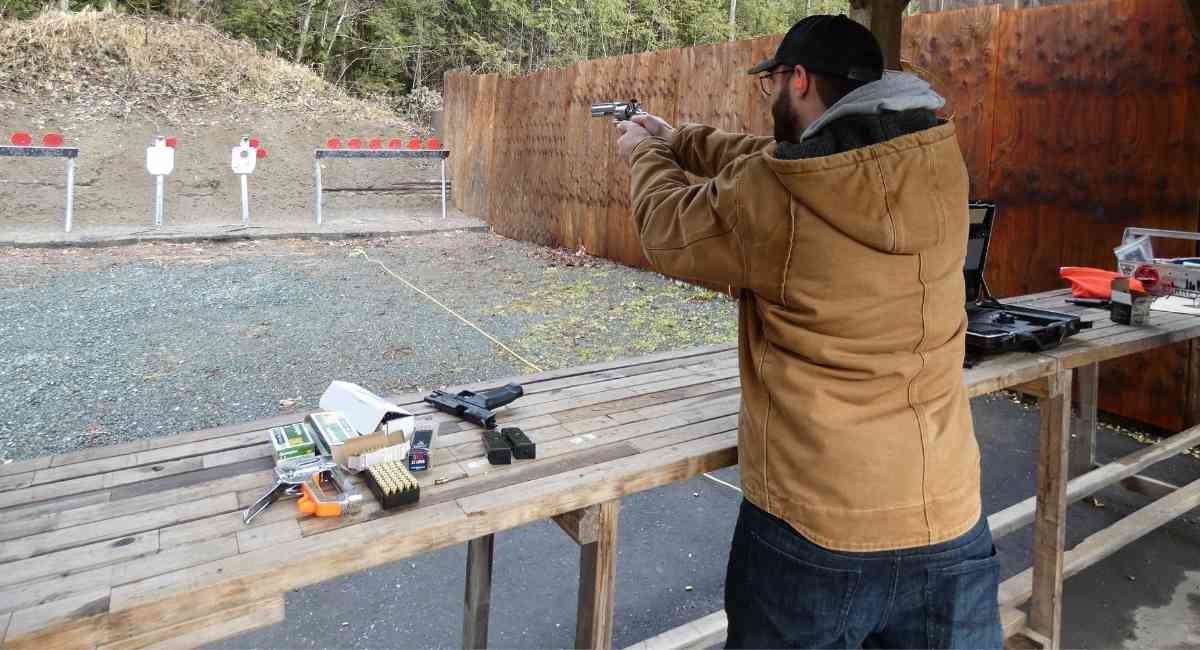
The first step in holding a revolver properly is having the right stance. We’ll briefly describe two of the most commonly used shooting stances: the isosceles and the Weaver.
Isosceles Stance
In this stance, the shooter positions their body squarely in the direction of the target.
If you’re unsure what “square” means here, it essentially means that the shooter is facing the target directly, with their head held straight and in line with their body and the feet positioned about shoulder-width apart.
In the isosceles stance, the shooter’s knees are slightly bent, toes pointed forward, arms fully extended in front of them, and both hands holding the gun.
The shooter also leans slightly forward, which helps them not to lose balance.
Weaver Stance
The Weaver stance is very similar to the isosceles. The main difference is that in this stance, the shooter is not square, and the feet are not in line with each other. Instead, one foot is behind the other.
The shooter steps the dominant foot behind the other foot at an angle. In this stance, the shooter leans their head slightly to the side to get a good aim at the target.
Now let’s look at the techniques for holding a revolver.
Best Techniques For Holding a Revolver
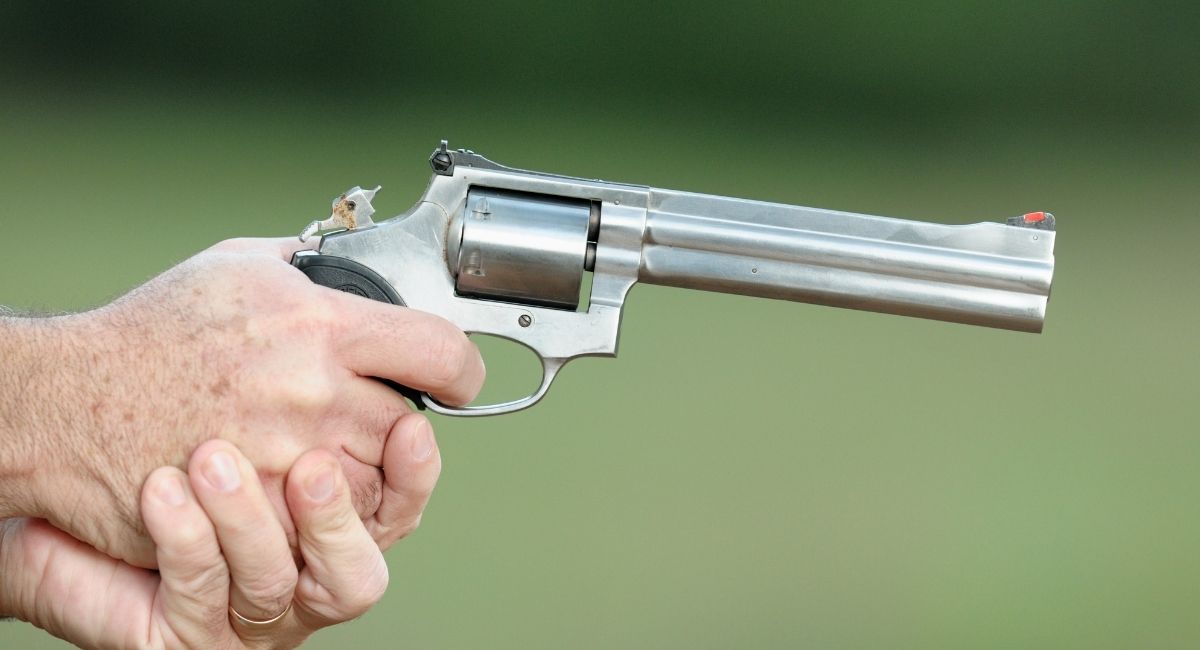
Thumbs Wrapped
The shooter holds the revolver so that the thumb on the supporting hand is wrapped over the thumb of the shooting hand. Holding the gun in this way gives the shooter a high, comfortable grasp on the grip of the gun.
This lessens the impact of the recoil and keeps the thumbs away from the cylinder gap. This is the safest technique for using small revolvers in particular.
Here’s how it’s done:
- Very firmly grasp the grip of the revolver with your dominant shooting hand.
- Wrap the fingers of the other hand over the fingers of your shooting hand so that the supporting hand’s thumb is pressing on the dominant hand’s thumb.
- At this point, your thumbs will be at the back or close to the side of the gun. Position your thumbs so that the revolver’s hammer will not strike your hand after you fire the gun.
Thumb Over Hand
This technique is a variation of the one above. Instead of wrapping one thumb over the other, the shooter places the thumb on the supporting hand on the back of the shooting hand.
This technique is better for when using larger revolvers.
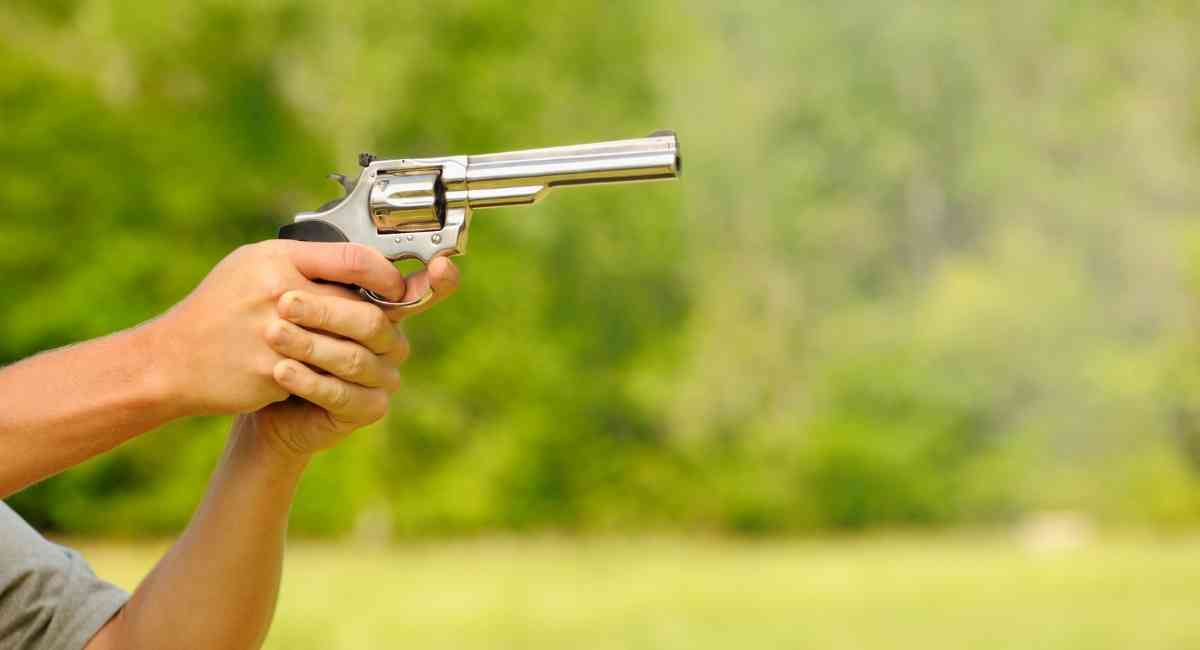
Thumbs Tucked
The thumbs tucked technique keeps the revolver shooter’s thumbs safely away from the cylinder gap. Here’s how you do it:
- Grasp the gun firmly with your shooting hand.
- Again, wrap the fingers of the supporting hand over the fingers of your shooting hand.
- Instead of crossing your thumbs, bend them as if you were trying to hide them. The thumb of your supporting hand should generally be hiding your dominant thumb up to the first knuckle.
Thumbs Stacked
This one resembles the thumbs forward technique commonly used with semi-automatic pistols.
However, it is different. Instead of the thumbs extending to the full length of the frame (or as far as they can reach), they are stacked one on top of the other at a safe distance away from the cylinder gap. Here is how to do it:
- As with the techniques above, get a firm grip on the revolver with your dominant hand.
- Wrap your supporting fingers around your dominant fingers as if you were about to do the “thumbs wrapped” method.
- Instead of wrapping the supporting thumb over the dominant one, stack the dominant thumb on top of the supporting one, pointing it downward.
At this point, your thumbs will be at the side of the revolver next to the trigger guard.
Recap of How to Hold a Revolver
Now that you know how to hold a revolver properly, let’s quickly recap the key points:
- Practice your stance. Get familiar with different shooting stances and practice them.
- The “thumbs wrapped” technique is a favorite among expert revolver shooters, and it is also perhaps the safest.
- The “thumbs tucked” technique is one of the safest ways to hold a revolver.
- The “thumbs stacked” technique is easy to learn and safe to use, as long as you do it properly.
These two-handed grip techniques are also ideal for an in-experienced shooter who might be struggling with recoil control. The one you choose to use depends on your personal preference.
